The use of a few years inside the notebook will absorb a lot of dust, resulting in heat dissipation is not timely, affect the notebook performance and use experience, today to 2012 listed ThinkPad X230 as an example, to teach everyone how to give your notebook internal cleaning, let your notebook Fight for a few more years.
Prepare tools: a screwdriver, brush, blow ball, Dyson, a tube of grease.
Remove the battery first, and then remove the screws directly on the back, except for the slot cover screws that do not have to be removed. The others are removed.
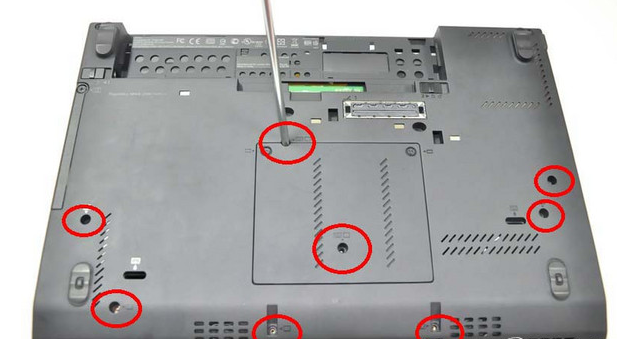
After removing all the screws, turn it over, push the keyboard upwards, and then lift it from the slit to lift the keyboard. Remember not to pull it hard, because there is a keyboard line behind it. Remove the keyboard and remove the keyboard cable to completely remove the keyboard.
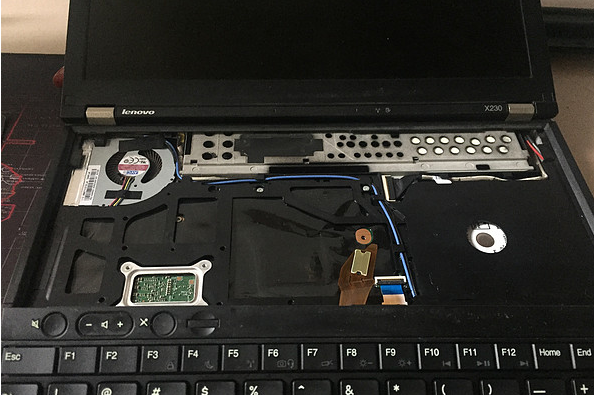
After removing the cable, you can remove the keyboard and palm rest, and then remove the two screws in the red circle to remove the U frame.
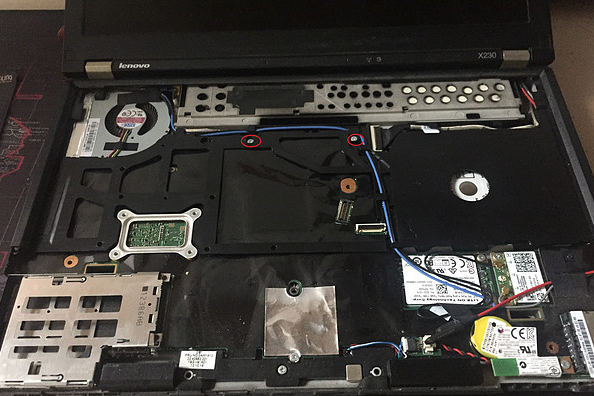
On the left is my own MSATA ported SSD. On the right is the wireless card. The two screws are also removed. Then the SSD and the wireless card are cancelled. Also remove the hard drive screws and take out the hard drive.

Remove the U-frame, then remove all the red circled screws and disconnect the power connector in the lower right corner to remove the entire motherboard. When you take the motherboard, tilt it out, first lift it from the lower left, and then move it out of the lower right corner. After that, lift the main board because there is a motherboard power connector on the back. Oblique the motherboard, disconnect the interface, you can remove the motherboard.

The back of the main board is mainly two memory interfaces and a heat sink. Loosen the screws to remove the heat sink. The CPU area is coated with thermal grease, and the south bridge chip has a thermal paste. Clean the dried grease first and apply a new one.
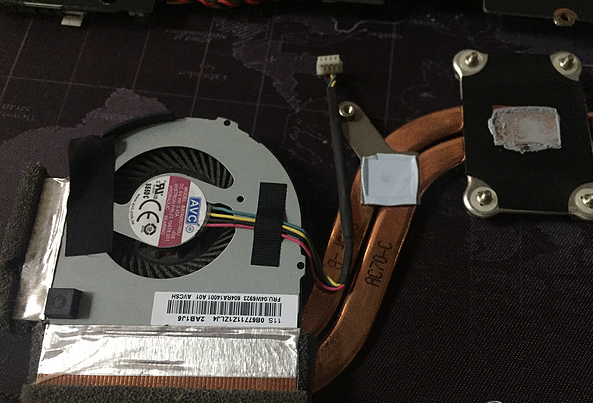
Then clean the ash inside the fan. Blow up with Dyson using a blower and replace it with a new one.
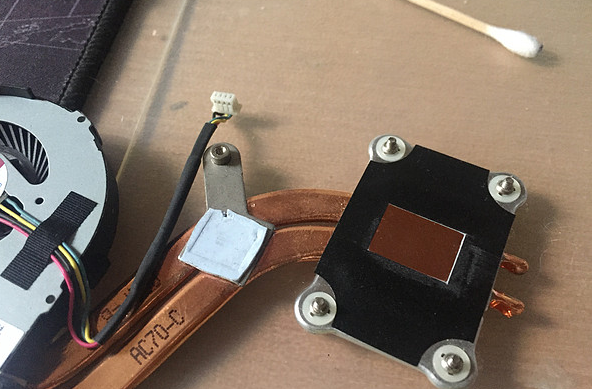
In this way, the cleaning is completed, and after the completion, install it according to the reverse procedure, and quickly test it to see if it has any effect.


