The ASUS G73 and K52 laptops use the same model of display, so the two laptops have roughly the same frame. This article uses the ASUS G73 as an example to introduce how to disassemble the screen.
Before you officially disassemble, prepare the items you need: the Phillips screwdriver, the card, and the new ASUS G73 screen.
1 First remove the ASUS G73 laptop battery, otherwise it may burn the screen or the motherboard when you remove the screen. The second step is to open the two foot pads on the bottom of the screen, and then unscrew the screws inside. The fixation of the A-side and the B-side depends entirely on the two screws. The rest are fixed by snaps, and all these buckles are loosened.

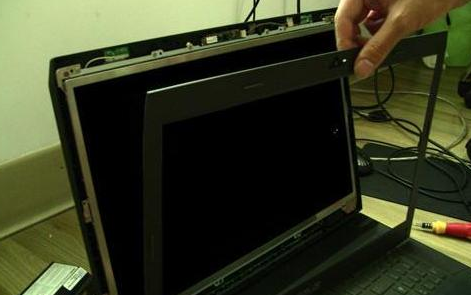
2. Use the card to open the border little by little along the screen. Observe which place on the border is easy to reach and where to start.
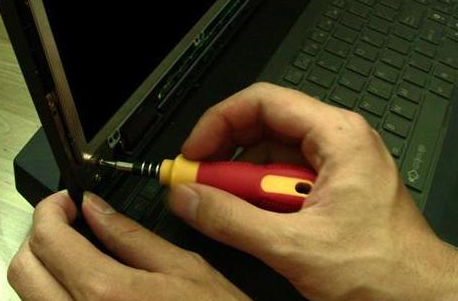
3, continue to remove the screen fixing screws. Since the screws in each position are of different lengths, it is important to remember where the screws are to be removed. It is best to take a picture with a camera.

4. After disassembling the screen fixing screws, the ASUS G73 screen and the A surface can be torn apart at a certain angle. Unscrew the 8 screws on both sides and the screen can be completely removed. It is recommended to unscrew the three screws on one side and leave one to fix. Then unscrew the other 4 screws.
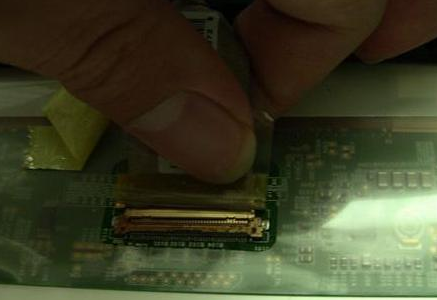
5. The screen cannot be removed after the screws are removed because the screen is still connected to the screen. When drawing a screen, force it parallel to the screen. Remove the screen after removing the screen.

6, install ASUS G73 new screen. First connect the line of the notebook screen, insert the screen line to first align the position, and then pull the piece of white transparent glue down and press down firmly, after the screen line is connected, then follow the above steps to complete step by step, and finally Boot test.
ASUS G73 notebook teardown screen notes:
1. The fixing screws removed are of different specifications. To remember the position of each screw, it is advisable to take pictures before disassembling.
2. When using a card to open the screen frame, do not use too much force to avoid irreversible damage to the case.


