ASUS X550VB, Y581C, F550L, A550, X550C, R510CA, W518L laptop screen line failure, our first thought is to replace the screen line. For these notebook models, the screen line is the same model. Replace the tutorial as follows.
Disassemble tools: a screwdriver, cards, a needle and a new screen line.
1. Shut down and unplug the laptop. Then remove the battery.

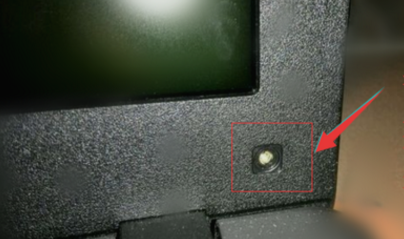
2. There are two screws hidden on the bottom border of the notebook screen. To remove the screw, remove the upper dust cover with a needle and remove the screw and cover.
3, from the top of the border with the card before and after the strip off, note that the card inserted not too deep. The action should be as soft as possible so as not to damage the wires in the frame.
4. After the front and back borders are separated, the front bezel is slowly lowered. Note that the action must be light, slowly clear the glue inside the frame.
5. Remove the screws on the four corners of the screen. The screws that have been removed should be marked with the classification mark, and then gently lower the screen parts.
6. Remove the notebook screen from the back panel and gently lower it, taking care not to injure the screen cable.
7. You can now see the cable, unplug the broken screen cable, and connect the new cable.
8. After the installation of the new cable is completed, the notebook is assembled back in the reverse order above, and finally the boot test.
It should be noted that when disassembling a notebook, it is necessary to categorize the detached screws so that they can be re-assembled at the back, and the notebook screen should be removed with care. Do not damage the screen.


