Xiao Bian recently discovered that HP CQ43 notebook will use a blue screen for a while. It can only be forced to shut down. It will be a blue screen after rebooting. The fan sound of the notebook is also very large. It seems that it is not caused by heat dissipation, so it is decided to disassemble it. .
The sharpening knife does not accidentally cut the firewood, first prepared a set of tools: screwdriver, tweezers, grease, fingertips, small brush, plastic bracts, spare knives, the following official introduction to the dismantling process.

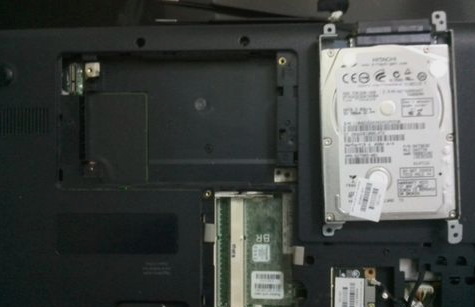
The first stage: We all know that the notebook has four sides, in turn, A, B, C, D, turn to the back (D), remove the battery, remove the 3 screws, classify the paper, paper External standard clear; remove the D shell on the next 5 screws, classified; next remove the memory cover, this screw is easy to spend, remove the memory cover, out of memory and wireless network card, remove the memory, remove the fixed network card and the nearby each 1 screw, remove the network card (do not remove the wire); next remove the screws that secure the hard disk cover (careful), remove the hard drive cover, remove the 4 screws holding the hard drive, carrying a small file, unplug the cable, take Under the hard disk, remove the 1 screw under the hard disk; continue to remove the 1 screw fixing the optical drive, poke it, and take out the optical drive!

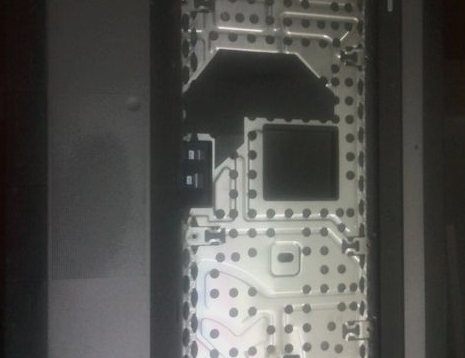
The second stage: Turn over the keyboard (C side) to disassemble the keyboard. The front and the left and right buckles are held by the front keys. The hard object is used to hold the buckle. The keyboard is up and there is no buckle. Carefully here, The cable here is a switch, looks like a knife, pulls it up, and then the keyboard pulls forward, the whole comes out; remove the three screws above, remove the outer casing of the hand control board, take the card or plastic chip from the optical drive At the beginning, you will go to the main board after you get down.

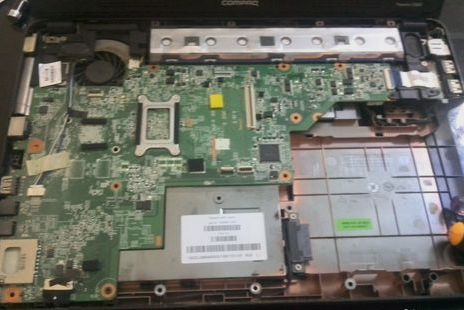
The third stage: Wash the hands before removing the motherboard, remove all visible screws that affect the motherboard (because the fan is under the motherboard, there are several screws that do not affect the removal), sort clearly, unplug the three cables, pull up 1 Knife, the bottom right corner of the motherboard may be sticky, stunned, this time the screen has been flat, wireless card connected to the bottom right of the motherboard, you can not pull down the line, flip the motherboard, remove the fan, and then dismantle the fan, it seems can not add lubricating oil.

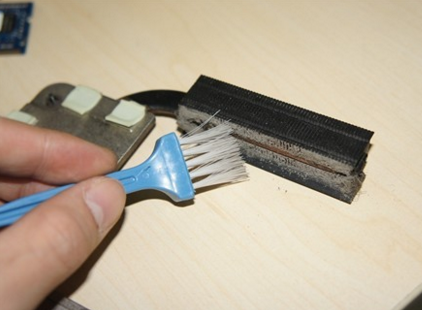
The fourth stage: completely dismantling and cleaning directly, with fingertips to the CPU and graphics card and graphics card and metal strip connection uniform grease, almost on the line, remember to wipe uniform, the assembly must pay attention to the fan and the motherboard alignment, alignment, On the flat, fix the fan to the 4 screws on the motherboard well. Otherwise, the fan becomes a tractor.
Finally, assemble back in the reverse order above and start the test.


