What happens when the notebook screen cannot be used?
Because this is a human error is not within the scope of the warranty, we can only do it yourself or sent to the repair shop repair, in line with their own hands-on ideas, suggesting that hands-on ability can learn Xiaobian repair experience.
1, find a table, the desktop is covered with tablecloths, the notebook computer to be replaced after removing the battery on the tablecloth, the tools and materials on the side. Open the cover of the notebook, make the screen and the body 180 degrees, and lay two flat 16 book pads flat.
2. Wash hands (anti-static damage electronic components), remove the small rubber cap on the LCD frame border screws with a small tweezers, and put it into the paper tray. Use a Phillips screwdriver to unscrew the screws on the frame. There are eight screws, which are generally symmetrically arranged.
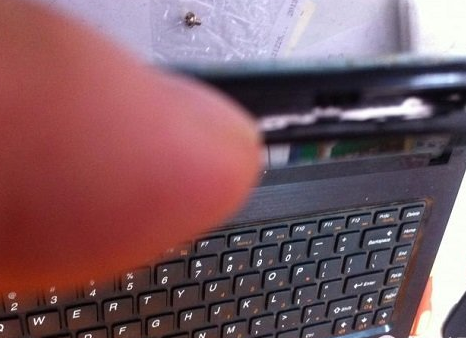
3, carefully remove the screen inside the box, the general inner frame and the edge of the screen have double-sided adhesive, the frame is plastic, you can use the thumb nail slowly separated, do not use brute force.
Use a screwdriver to remove the screws holding the screen and frame, which are also eight, symmetrically arranged, and four on one side.
Separate the bite part of the screen and the border frame, and remove the camera cable above the screen and the line under the screen (the connection line has the front and back, and there is a mark on the top of the screen, it will not be wrong).

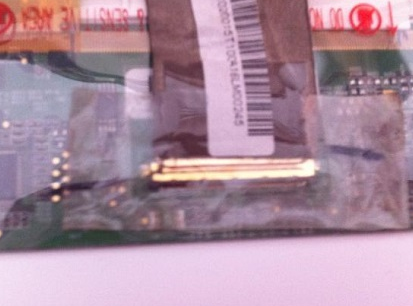
Lift up the LCD screen, buckle on the keyboard, you can see the back of the cable, remove the cable connection (plug-in, just unplug it like)
Put the removed screen aside. Insert the new screen on the keyboard and insert the cable. The lower end of the cable connector and the cable is glued with the adhesive tape on the original machine.

Attach 5 cm double-sided adhesive tape to the top, bottom, left, and right sides of the new screen. Place the screen in the top cover, and then snap the two sides together into a metal frame to reconcile. Start the metal frame fixing screw.
Plug in the camera's cable and the screen connection cable and cable.

Remove the screen protector, align the corners of the inner frame on the screen, and press gently to engage the upper cover.
Begin the screw on the inner frame and press it in the opposite direction. Do not tighten it at one time. Tighten the screws twice. It should not be too tight. Finally, stick the double-sided tape on the back of the rubber cap, stick it to the top of the screw hole, and gently press it so that it can be tightly combined with the screw.
Put on the laptop battery, plug in the external power, boot, successfully lit the LCD screen.


