Lenovo IdeaPad Y470, Y471, Y470M, Y470N, Y470P belong to the notebook of Lenovo IdeaPad Y series. The screen size they use is not the same, but the method of disassembling the screen is the same. The following is a small series of Y470 to teach everyone to replace the screen.
The tools needed are: a screwdriver, a pin, a new Lenovo IdeaPad Y470 screen and a card.
1. Disconnect the laptop first and pull out the back battery to prevent leakage during disassembly.

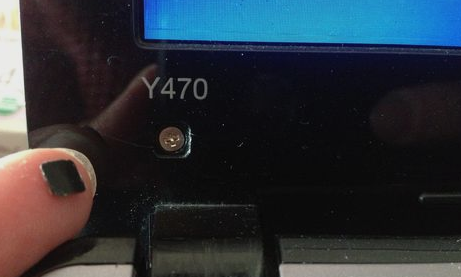
2. Between the screen and the screen axis, there is a black dust cover, one each on the left and right, with the fixing screws hidden inside. Use a needle to slowly press the dust cover down, and then use a screwdriver to unscrew the screws.
3. Separate the frame from the screen with the gap between the card's black border.
4, in the four corners of the screen there are fixed screws, a total of four, are screwed down, save the screws.
5. After removing the screws, the screen is already loose at this time, turn the screen on the keyboard, and then slowly remove the sticky paper on the screen line, pull the cable, remove the broken Lenovo IdeaPad Y470 notebook screen.
6, the new screen on the keyboard, first insert the cable, sticky tape, back in accordance with the reverse steps above to assemble back, and finally boot to test whether the new screen can be used normally.
Precautions: Remove the screws and store them in a convenient manner so that they can be reinstalled at the back. Do not leave scratches on the dust cover of the pin buckle to affect the appearance.


