Recently, I accidentally spilled water into the Thinkpad X240 laptop keyboard, causing the “F” and “B” keys to malfunction. It was still not working well for a few days, so I decided to open a new keyboard.
Go online and buy a new keyboard.
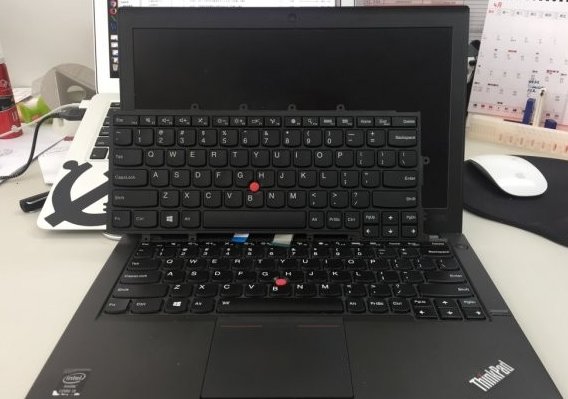
Turn off the power first and remove the laptop battery.
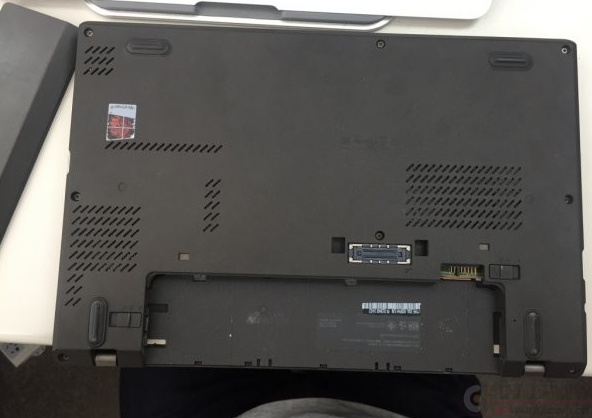
Then loosen all screws on the back with a screwdriver and remove the back cover.
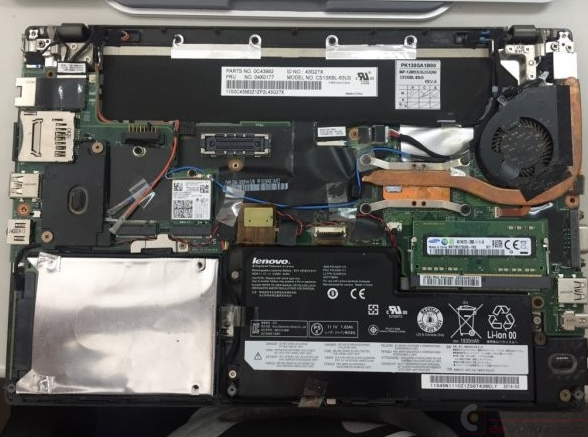
The lower left corner is the hard disk. Twist the fixing screw and do not need to remove the connecting cable. The connection to the hard disk tried to pull it twice and did not pull it out. Finally, it proved completely unnecessary to completely remove the hard disk.
On the right side of the hard disk is a built-in battery. It is said that with this battery, it can easily last for 8 hours. The battery is fixed by 3 screws and a piece of connecting cable metal buckle and needs to be completely removed.

Remove all screws from the fan and the motherboard, including the speaker's mounting screws and the spindle screws.
Be careful not to mix the different types of screws. Unplug all the cables that you can see, including the keyboard and motherboard connections.
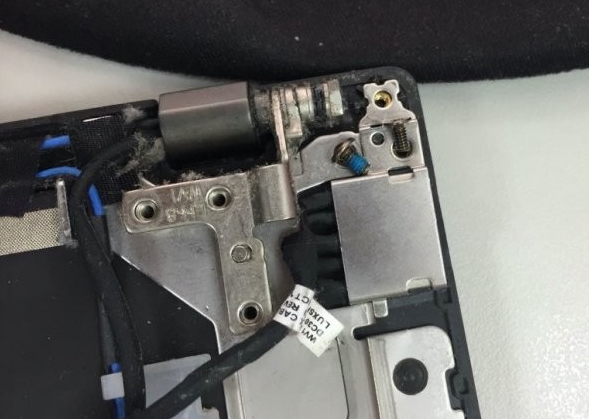
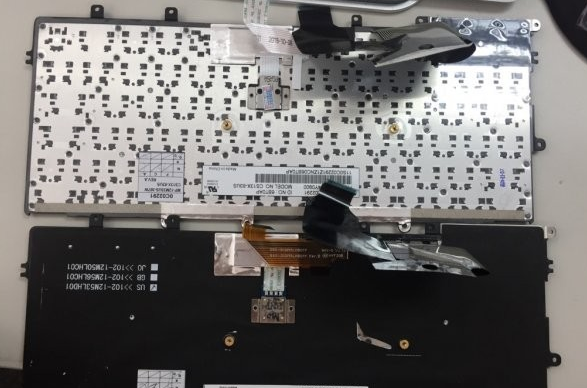
Pull out the original keyboard and replace the newly purchased keyboard with the original one. Then turn on the machine and test whether all the keys can be used normally. Finally, tighten the screws again.


