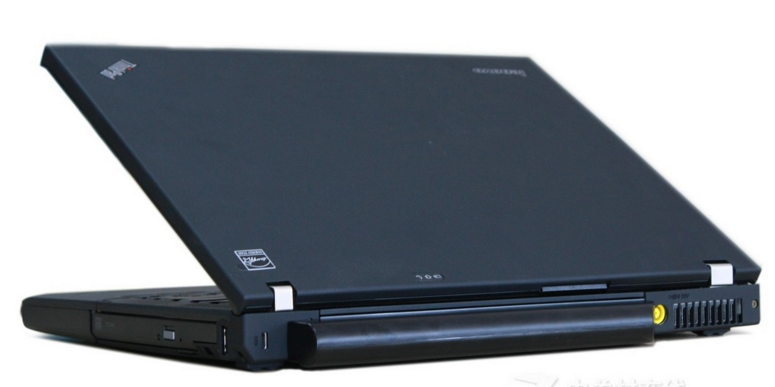
Lenovo ThinkPad R400 is a cost-effective notebook computer equipped with the current mainstream hardware equipment, in the daily entertainment and office conditions, it can be well handled, for which R400 has a very high popularity in the notebook computer market. Some friends also like to dismantle the computer to stop the maintenance. As a Lenovo ThinkPad's well-known product, how should the R400 stop dismantling it? We will improve it with simple steps.

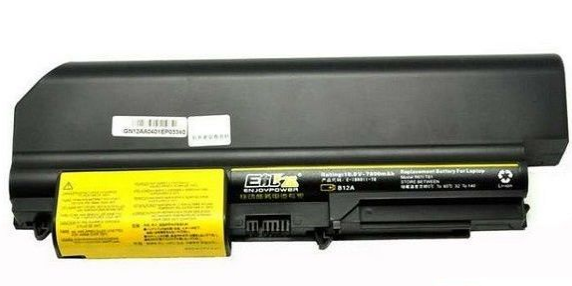
1. First of all, we must first prepare some tools such as disassemble rods, screwdrivers, and wash our hands with tap water to remove static electricity from our body. Then he untied his battery lock and removed the battery.

2, the next step is to stop the optical drive disassembly, the Thinkpad R400 a small switch on the left side of the fuselage, press it, it will pop out, hold the lever to the direction of the pop-up force slightly stretch. This time the flood drive has been halfway out, dragging the bottom of the drive and pulling it out parallel.
3, the following to the hard disk to stop dismantling, first with a screwdriver to remove the Thinkpad R400 hard drive cover a black screw, pull the hard drive cover out, pull the plastic pull tab to pull down, and then pull it outward Quietly pull out the hard drive.
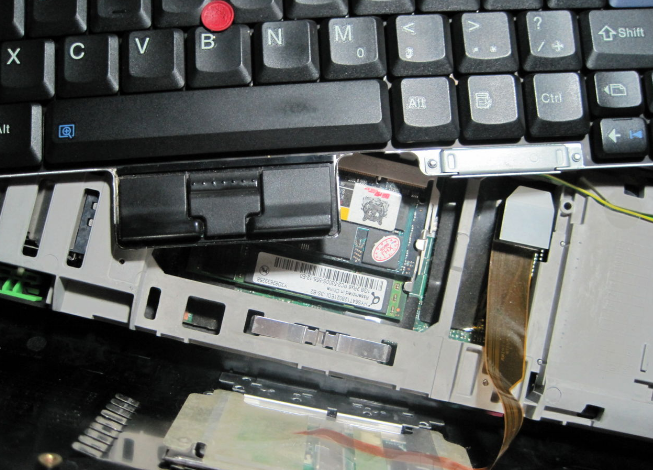
4. Stop disassembling the palm rest. First, remove the four black screws on the back cover of the Thinkpad R400, hold the left and right palm rests with both hands, and then carefully raise the palm rest. Because there are snaps there, do not use too much force to avoid damaging it.
5, between the palm rest and the motherboard has a connector to connect the fingerprint device and the touchpad, this time needs to unplug the connector, you can leave the palm rest. It is worthwhile to pay attention to the device when it is required to properly insert the connector cable to the original position. Then return both sides of the palm rest to the correct position. At the same time, the front of the palm rest will be correctly snapped into its original position, then the screen lid will be closed and the four screws removed will be tightened.
6, after you remove the palm rest will see a memory below, it will quietly shake, memory stuck in the memory slot will pop up, and then take care to remove the memory. Then carefully remove the BIOS battery connection from the motherboard and note the direction of the jack connection. At the same time, the device is inserted backwards.

7. Be careful to raise the keyboard of Thinkpad R400 so that the keyboard is loose and can be removed. However, you should pay attention to the connection between the keyboard and the motherboard. Do not use excessive force so as not to damage the keyboard connector.
8. Next, stop the tilt of the Thinkpad R400 keyboard. First, use a screwdriver to remove the two black screws on the left and right sides of the fuselage. However, when the device is reversed, because the length of the two screws is different, otherwise the notebook will be damaged.

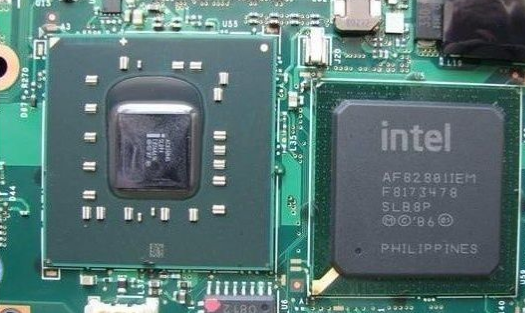
9, after the above dismantling, we can see some of the internal parts of the fuselage, such as the motherboard, CPU, fan, hard disk and so on. Afterwards, we will stop the dismantling of the wiring in accordance with the direction of the connection of the wiring. In this process, we must pay attention to not using too much effort, otherwise it will break the wiring.
10. After the connection is disassembled, the entire notebook computer is basically dismantled. At this time, we stop the disposal of foreign materials such as dust inside the machine according to my own needs, and can also change the hardware devices that can be completely removed according to the requirements, for example, Fans, hard disks, etc. If you can, you can also need to change the computer's screen, and even directly replace the screen with touch. Of course, this process is more complex and it does not suggest newcomers to operate.
Note: When disassembling the machine, you must pay attention to placing the screws in a storage box to avoid loss, otherwise the computer will not be installed.


